I can hear the rain coming down outside.
I have warm hand knitted socks.
I have a hot cup of tea.
Today was meant to stay inside
Warm, in a bed like this.


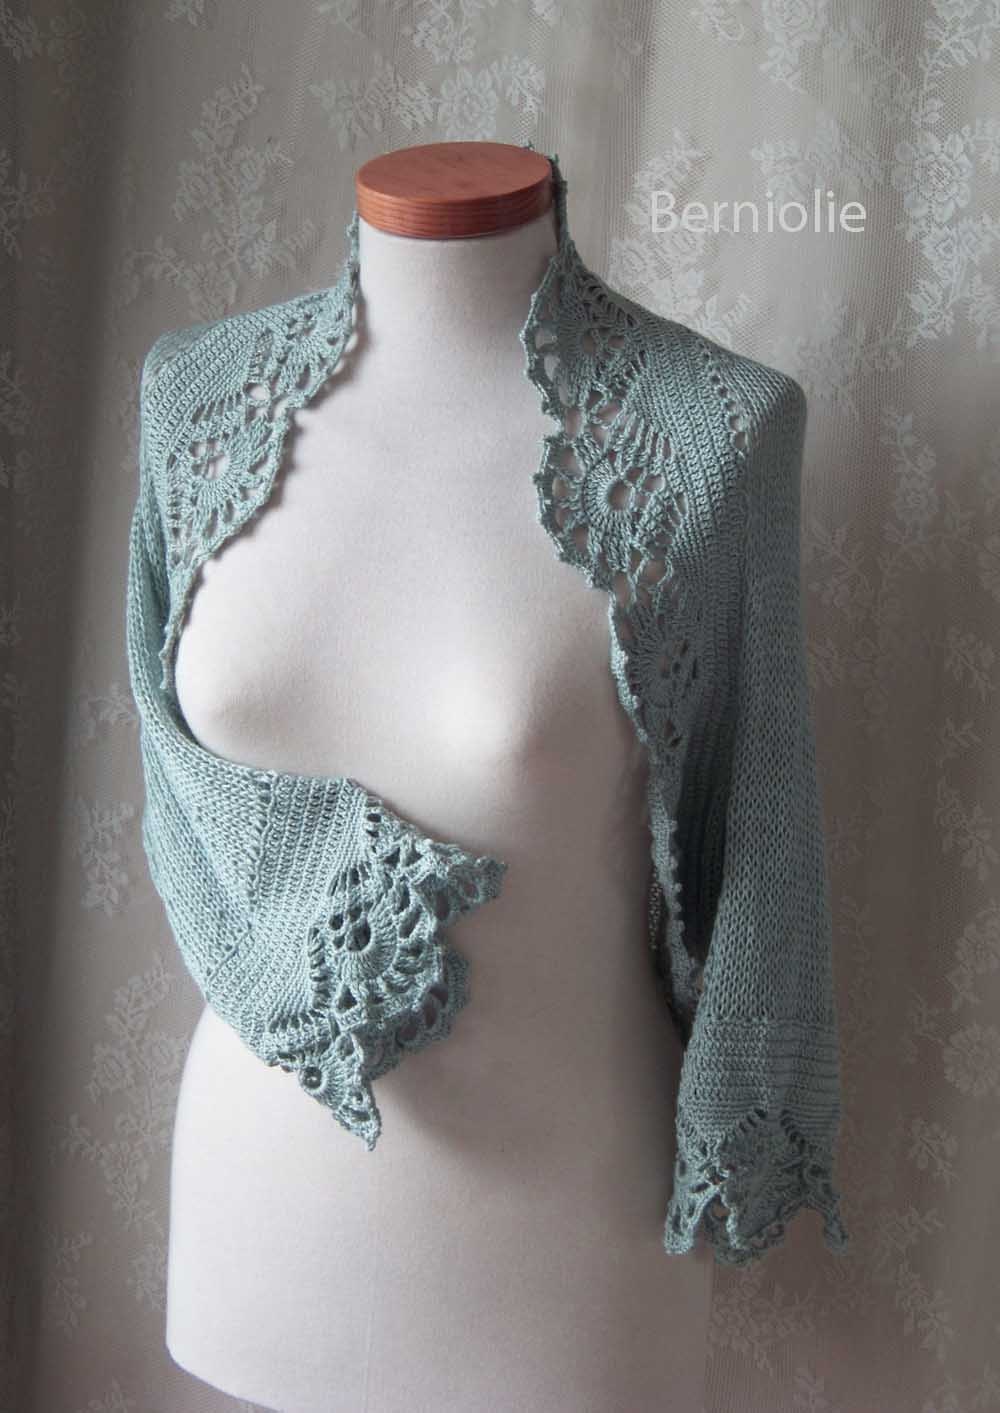 One of the best things on the internet beside those LOL
cats? PDF patterns. Just look at this pretty bolero style shrug. The pattern
comes from BernioliesDesigns.
One of the best things on the internet beside those LOL
cats? PDF patterns. Just look at this pretty bolero style shrug. The pattern
comes from BernioliesDesigns.  Gloves and Mittens. Got cold fingers? Chilly weather turning your hands to chapped leather? Here are a few of beautiful examples to restore warmth with style to your hands and keep the moisture in your skin from drying out.
 Shown left is a pair of smokey grey cable knit mittens by FairMaidenDesign. I like the chunky-ness of these mitts; they look so warm and perfect for walking in the snow.
 I also like these colorful options from Whitton's Mittens. (pink argyle shown right and blue flowers shown below) Made from recycled wool and cashmere sweaters and lined with felt, they are eco-friendly and very whimsical. The button detailing is a nice added touch as well.
 If you are needing to keep your hands warm but still want the flexibility and dexterity of being able to use your fingers, then perhaps these fingerless gloves are what you need. I also find that fingerless gloves tend to be more charming and elegant . . . not to mention I adore big chunky rings and often a full glove does not accommodate for this.
 Have a gander at these beautiful Victorian inspired lace-up gloves from Zen and Coffee Designs (shown right). The corset-like detailing on these gives the gloves a hint of sex appeal as well.
Not-so-secret-tip: Apply a bit of rich hand cream to your skin before putting your mittens or gloves on. The warmth from your skin inside the mittens will help the moisturizer work more quickly and help it last longer.
So regardless of whether you choose fun and whimsical full mittens or elegant fingerless gloves, these winter warmth accessories are sure to garner you compliments while keeping you toasty.
Stay warm out there!
 Don’t get me wrong, I enjoy the fresh days of spring and the lazy warm air of summer. But there is something about September and the approach of cooler weather that I enjoy.

 If you’re feeling chilly now and can’t wait for a custom ordered sweater, Victoria Secret offers (among other things) a wide selection to choose from. Shown left and right are two that I find rather, ah-hem . . . inviting.
